
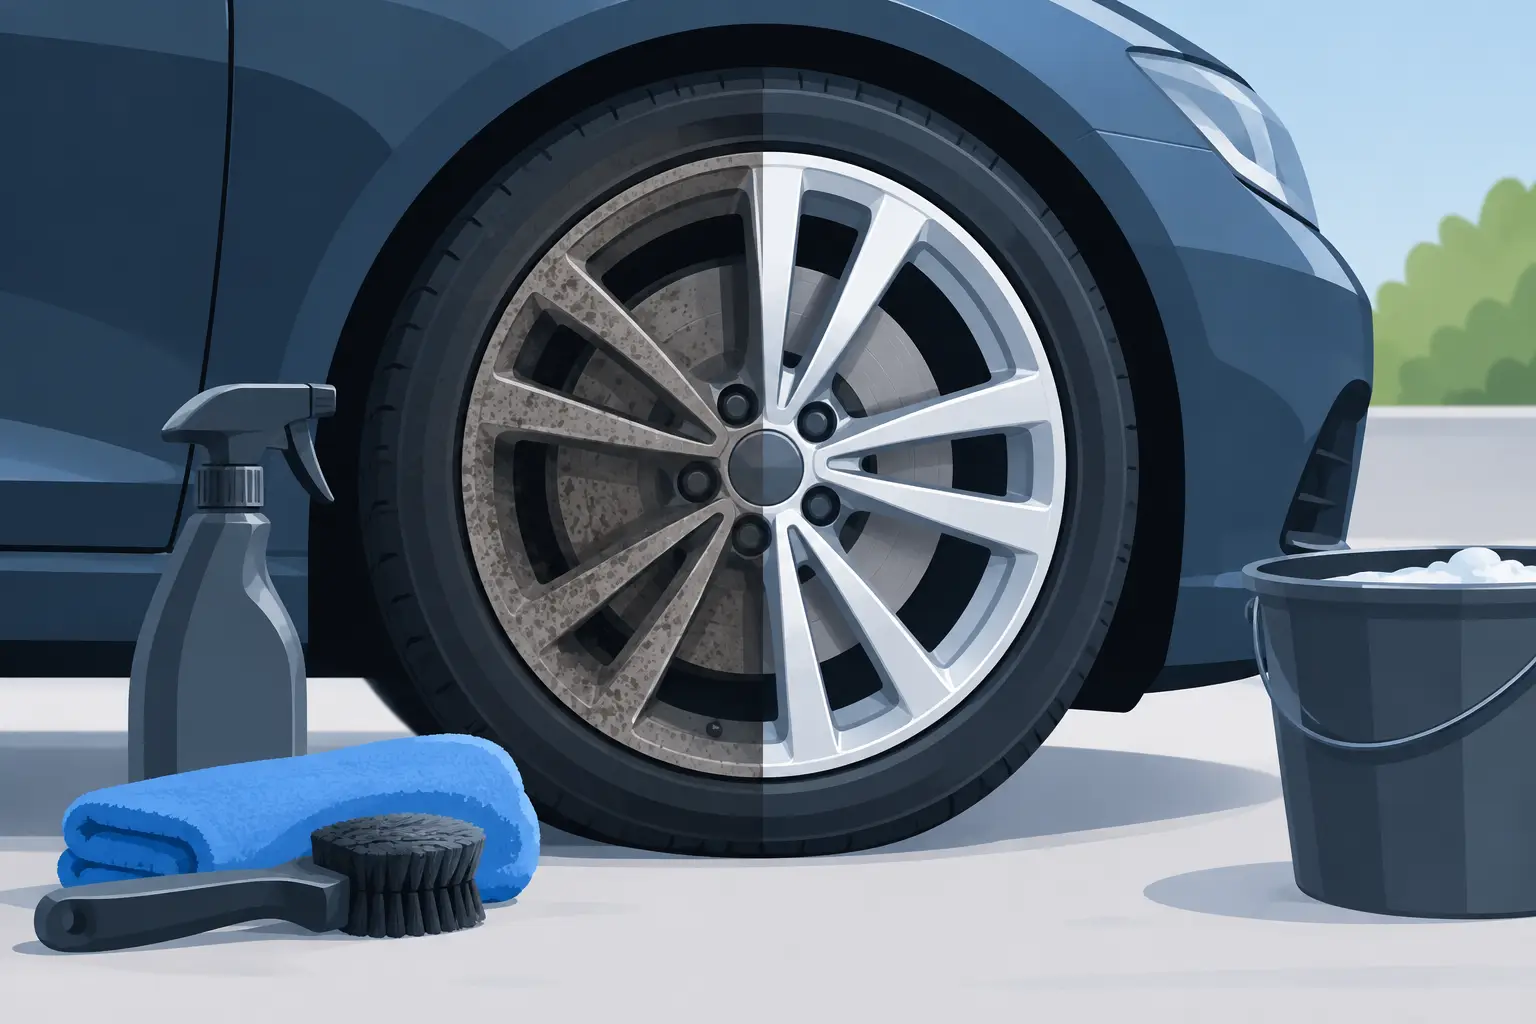
Brake dust can make a freshly washed vehicle look neglected fast. Those dark gray or black deposits cling to wheel faces, settle into spoke corners, and can become difficult to remove once heat and time bake them onto the finish. Knowing how to remove brake dust correctly protects more than appearance – it helps preserve the clear coat, paint, or polished finish on your wheels.
The key is to use the right cleaner, the right brush, and enough patience to let the product do the work. Aggressive chemicals and stiff brushes may produce a quick result, but they can stain, scratch, or dull wheels that were expensive to replace in the first place.
Why Brake Dust Sticks So Hard
Every time you brake, small particles from the brake pad and rotor are released. These particles are often metallic and extremely fine. They collect on the wheel while it is hot, then bond to the surface as the wheel cools.
On a vehicle driven daily through Los Angeles traffic, that buildup can happen quickly. Stop-and-go driving, steep streets, and warm weather all add heat to the braking system. Left in place, brake dust can eventually etch into vulnerable wheel finishes, especially on neglected or unprotected wheels.
Fresh brake dust is usually simple to clean. Heavy buildup is different. It may require a dedicated iron-removing cleaner, repeated treatment, and careful agitation rather than more force.
What You Need Before You Start
You do not need an oversized collection of detailing products, but the products you choose matter. Start with a pH-balanced wheel cleaner labeled as safe for your wheel type, a soft wheel-face brush, a barrel brush for behind the spokes, microfiber towels, and a separate wash bucket with clean water.
A gentle all-purpose cleaner can help with tires and plastic wheel liners, but it is not always strong enough for bonded brake dust. For stubborn metallic contamination, use an iron remover designed for wheels. These products react with embedded iron particles and often turn purple as they work.
Avoid household degreasers, oven cleaner, acidic cleaners, and rough scouring pads. They can damage painted, polished, anodized, chrome, or powder-coated wheels. If you are not certain what finish is on your wheels, treat them as delicate and use the mildest effective product.
How to Remove Brake Dust Step by Step
Start with cool wheels in the shade
Never clean wheels immediately after driving. Hot metal and hot brake components can cause cleaners to dry too quickly, reducing their effectiveness and increasing the chance of staining. Park in the shade and allow the wheels to cool completely.
Rinse each wheel thoroughly with a steady stream of water. This removes loose grime and gives the cleaner a wet surface to work on. Pay attention to the inner barrel, brake caliper area, lug recesses, and the back side of the spokes.
Apply a wheel-safe cleaner
Spray the wheel cleaner evenly across the face, inside the barrel, and around the lug nuts. Use enough product to coat the dirty areas, but do not spray so heavily that it runs off before it can work.
Let it dwell according to the label directions. Usually, a minute or two is enough. Do not let any wheel cleaner dry on the surface. In warm Southern California conditions, work one wheel at a time so you can control the dwell time.
If the wheel has heavy, crusted-on brake dust, use an iron remover after the initial rinse or as directed by the product label. The color change is a sign that the cleaner is reacting with metal contamination. It is not a reason to leave the product on longer than recommended.
Agitate gently in the tight areas
Use a soft detailing brush for the wheel face and lug nut openings. A flexible barrel brush reaches behind the spokes, where brake dust often accumulates out of sight. Work from the top of the wheel down, using light pressure and frequent rinsing.
Do not use the same mitt, brush, or bucket you use on painted body panels. Wheels carry abrasive road grit and metallic particles. Keeping wheel tools separate reduces the chance of dragging that contamination across your paint.
For a wheel with intricate spokes, take your time rather than forcing a large brush into narrow spaces. A smaller brush or microfiber towel wrapped around a detailing brush gives better control and helps prevent accidental scratches.
Clean the tire separately
A clean wheel next to a brown, faded tire still looks unfinished. Spray a tire-safe cleaner onto the rubber, agitate with a stiff tire brush, and rinse thoroughly. This removes old tire dressing, road film, and the brown oxidation that can develop on the sidewall.
Keep tire cleaner off the wheel as much as possible, particularly if you have polished aluminum or a sensitive finish. If overspray occurs, rinse it right away.
Rinse fully and dry without rubbing grit
Rinse the wheel, tire, inner barrel, and brake caliper area thoroughly. Check behind the spokes and around the valve stem for leftover cleaner. Residue in these areas can leave spots or streaks after the wheel dries.
Dry the wheel with a clean microfiber towel or a dedicated blower. Use a patting motion if any grit remains rather than rubbing hard across the finish. A soft drying towel also lets you inspect the wheel closely for stains, chips, or brake dust that needs another pass.
Match the Method to Your Wheel Finish
Not all wheels should be cleaned the same way. Factory painted alloy wheels are generally durable when cleaned with a pH-balanced product and soft tools. Chrome wheels can spot easily, so drying them promptly is especially helpful. Polished or bare aluminum requires extra caution because harsh chemicals can stain or cloud the finish.
Matte and satin wheels should never be polished to chase shine. Use a cleaner specifically safe for matte surfaces, then dry with a soft towel. For ceramic-coated wheels, a gentle maintenance cleaner is normally enough for routine washes, since the coating makes brake dust less likely to stick.
If your wheels have curb rash, peeling clear coat, damaged powder coating, or cracked chrome, avoid strong chemical cleaners. Moisture and chemicals can enter compromised areas and make the damage worse. A professional inspection is the safer move when the finish is already failing.
When Brake Dust Will Not Come Off
If dark spots remain after a proper cleaning, do not immediately reach for a stronger brush. The dust may be embedded in the wheel coating, or it may have etched into the surface. Reapplying an iron remover, allowing the proper dwell time, and agitating gently can often improve the result.
However, some staining cannot be washed away because it is no longer sitting on top of the finish. At that point, the wheel may need decontamination, polishing, refinishing, or replacement depending on the material and severity. Trying to sand or aggressively polish a painted wheel at home can create an uneven finish that looks worse than the original staining.
Keep Brake Dust From Taking Over Again
The easiest brake dust removal is the one you do before the buildup hardens. Clean your wheels every one to two weeks as part of a regular wash routine, or more often if your vehicle sees heavy commuting, canyon driving, or performance braking.
A quality wheel sealant or ceramic coating adds a protective barrier that makes future cleaning faster. It will not stop brake dust from forming, but it reduces how strongly contaminants adhere to the wheel. That means less scrubbing, less chemical exposure, and a cleaner finish between details.
Some drivers also consider low-dust brake pads when it is time for replacement. This can reduce visible buildup, though pad choice should always prioritize proper fit, braking performance, noise level, and your vehicle manufacturer’s requirements over appearance alone.
For wheels with severe buildup, delicate finishes, or years of neglected contamination, professional detailing is often the more cost-effective choice. Drip N Shine can clean and protect wheels as part of a mobile detail, helping your vehicle look cared for without sacrificing your weekend to harsh chemicals and trial-and-error cleaning.
Treat your wheels with the same care you give the paint. A few minutes of consistent, surface-safe maintenance keeps brake dust from becoming a permanent problem and lets the rest of your vehicle’s finish stand out.