
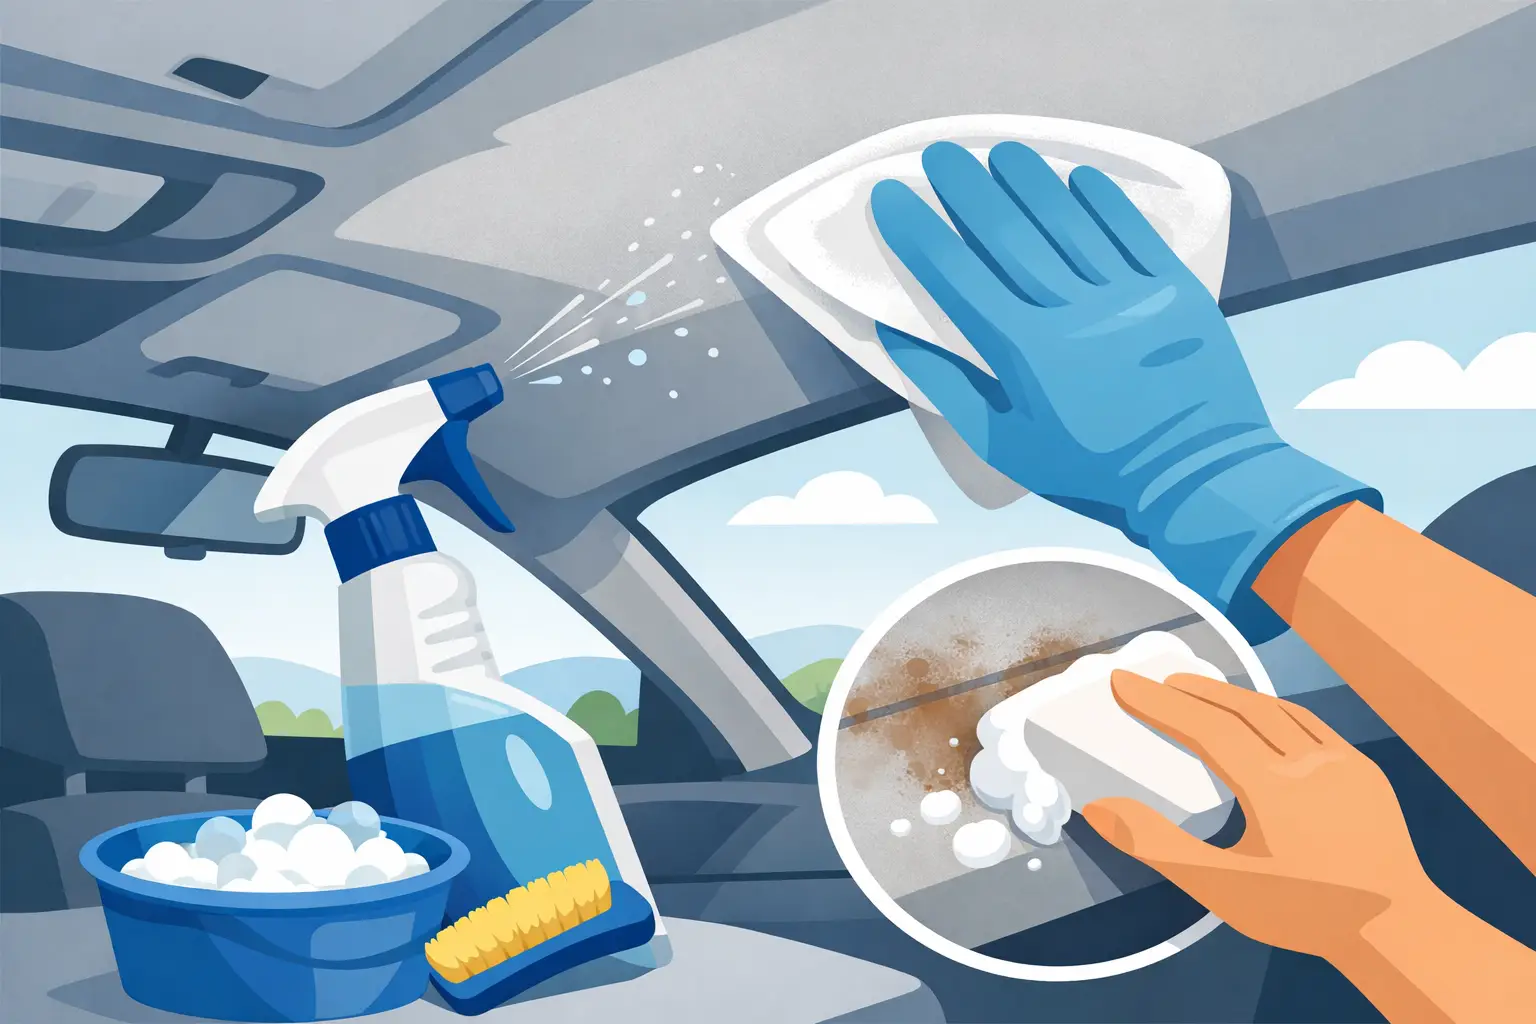
A dirty headliner can make an otherwise clean cabin feel neglected fast. Fingerprints above the doors, food splatter, smoke residue, and mystery marks all show up on this light-colored fabric. Knowing how to clean car headliner safely matters because the material is usually bonded to a thin foam backing with adhesive. Too much moisture or aggressive scrubbing can loosen that adhesive, leaving the fabric sagging overhead.
The goal is not to soak the headliner until every mark disappears. The goal is to remove surface soil and reduce stains while keeping the fabric, foam, and glue stable. With a gentle approach, many headliners can look noticeably fresher without creating a much more expensive repair.
Why car headliners need a different cleaning method
Your seats and carpets can often handle deeper cleaning because they are built over firmer padding and have better drainage. A headliner is different. The fabric is thin, the foam beneath it is delicate, and the adhesive can weaken with age, heat, humidity, or excess cleaning solution.
That is especially relevant in Los Angeles, where a vehicle can sit in direct sun for hours. If the adhesive is already tired, saturating the headliner may be enough to make a small loose spot spread. This is why a professional detailer starts conservatively and increases cleaning strength only when the material can handle it.
Before cleaning, inspect the headliner closely. If it is already sagging, feels loose near the edges, or has a broad yellow or brown stain, avoid a DIY deep clean. Cleaning may improve the appearance temporarily, but it will not repair failed adhesive. In that case, reupholstery is usually the real solution.
What you need to clean a car headliner
For light dirt and small stains, use a clean microfiber towel, a soft interior detailing brush, and a quality upholstery or interior cleaner that is safe for fabric. A soft foam applicator can also help for targeted work.
Avoid stiff brushes, paper towels, household degreasers, bleach, and heavily fragranced all-purpose cleaners. They can leave rings, discolor the fabric, or push moisture too deeply into the backing. A steam machine can work in experienced hands, but it is not the first choice for most homeowners because too much heat and vapor can release the glue under the material.
If you are using a new product, test it in an inconspicuous area first. The rear edge of the headliner or an area above the back seat is often a practical test location. Let it dry completely before deciding whether the cleaner is safe for the fabric.
How to clean car headliner stains safely
Start with dry cleaning
Begin by removing loose dust, hair, and dry debris. Use a soft brush or a vacuum with a brush attachment, but do not press hard against the fabric. Work in light, straight passes rather than grinding the tool into the material.
This step is easy to skip, but it makes a difference. Moisture can turn loose dust into muddy streaks, especially on light gray, beige, or black headliners with visible residue.
Spray the towel, not the ceiling
For small stains, apply your interior cleaner lightly to a microfiber towel instead of spraying directly onto the headliner. The towel should be damp, not wet enough to drip. This gives you control over how much product reaches the material.
Gently blot the stain first. If it begins to lift, continue blotting with a clean section of the towel. Avoid rubbing in circles, which can spread the stain and create a noticeable texture difference once the fabric dries.
For a more stubborn mark, use a soft brush with minimal product. Lightly agitate the affected area in one direction, then blot it with a dry microfiber towel. Keep the cleaning area as small as possible. Treating the entire panel with liquid when only one spot is dirty adds unnecessary risk.
Work from the outside of the stain inward
Coffee drips, makeup, greasy fingerprints, and food stains often have defined edges. Start at the outside edge and work toward the center. This helps prevent the stain from spreading into clean fabric.
Do not expect every old stain to disappear in one pass. Two or three light applications with drying time between them are much safer than one aggressive attempt. If the stain is improving but not fully gone, stop before the fabric becomes overly damp. A faded mark is better than a sagging headliner.
Blot dry and allow full airflow
After cleaning, press a dry microfiber towel against the treated area to absorb leftover moisture. Leave the doors or windows open in a shaded, well-ventilated area until the headliner is fully dry.
Do not use a heat gun, blast the area with a hair dryer, or park immediately in harsh sun to speed up drying. Direct, concentrated heat can affect the adhesive and may leave the fabric looking uneven. Gentle airflow is the safer option.
How to handle common headliner problems
Light fingerprints and general grime usually respond well to a lightly damp microfiber towel and a fabric-safe interior cleaner. Use the least amount of product possible, especially around grab handles, visors, and door openings where headliners collect hand oils.
For smoke odor or nicotine film, surface cleaning may improve the look but may not fully remove the smell. Odor often sits in the seats, carpets, HVAC system, and cabin filter as well. Cleaning only the headliner can leave the underlying source untouched.
For grease, makeup, or sunscreen, start with a dedicated interior cleaner rather than water alone. Water can spread oily stains into a larger ring. Blot patiently, use a clean part of the towel often, and avoid overworking the fibers.
Water stains are more complicated. If a headliner has brown rings or widespread discoloration, check for a leaking sunroof drain, windshield seal issue, roof damage, or door seal problem before cleaning. Otherwise, the stain may return after the next rain or car wash.
Pet hair and dust are usually a dry-cleaning job. A soft brush, vacuum, or lint roller can remove them without introducing moisture. This is the safest maintenance method for a headliner that is clean but starting to look dull.
Mistakes that can ruin a headliner
The most common mistake is saturation. Spraying cleaner directly onto the ceiling feels efficient, but it can push liquid through the fabric and into the foam. Once adhesive begins to fail, the headliner can separate in a large section rather than just where you cleaned.
The second mistake is scrubbing too hard. Headliner fibers can pill, flatten, or develop a fuzzy patch that looks worse than the original stain. Use controlled blotting and gentle brush strokes instead of pressure.
The third mistake is treating a failing headliner like a stain problem. If the fabric is drooping near the rear window, windshield, or dome light, cleaning cannot restore the bond. Pins, glue sprays, and temporary fixes often create visible damage and make a future repair harder.
When professional interior detailing is the smarter choice
A professional service is worth considering when the headliner has widespread staining, smoke residue, delicate light-colored fabric, or unknown stains that have been there for years. It is also a better choice for newer, luxury, or leased vehicles where interior condition affects resale value or lease return costs.
Professional detailers use surface-safe products, controlled moisture, and techniques designed to protect delicate interior materials. At Drip N Shine, the same careful approach used on premium interiors applies to overhead fabrics: clean for visible improvement without taking risks that compromise the vehicle.
A headliner does not need to be spotless to make the cabin feel fresh again. Careful spot treatment, regular dry dusting, and restraint with moisture will preserve the material far better than an aggressive cleaning session. If a stain is testing your patience, protecting the headliner is still the right call.